

[ad_1]
Following the enormous success of the orange Arduino kit, and in response to customer feedback and requests, Orange has devised a plan to manufacture the Raspberry Pi kits.
Unlike the orange Arduino kits, Orange Kits includes free booklets, blogs, and e-books with this kit.
In this blog, we will go over the steps needed to get started with the Raspberry Pi Pico. so, let’s get this started.
Raspberry Pi Pico Introduction
The Raspberry Pi Pico is a small, fast, and versatile board built with the RP2040, a brand new microcontroller chip developed in the United Kingdom by Raspberry Pi.
Don’t be fooled by the name Raspberry Pi Pico. It differs from other Raspberry Pi products that run the Linux operating system, such as the Raspberry Pi 2, 3, and 4.
Pico is a low-cost, high-performance microcontroller board with a programmable digital interface. Pico’s functions are more similar to those of the Arduino MCU boards with which it competes.
Step 1: Download And Install MicroPython Firmware To Pico Board:
- Get the MicroPython UF2 file here: https://micropython.org/download/rp2-pico/rp2-pico-latest.uf2
- Press and hold the BOOTSEL button while connecting your Pico to a USB port on your Raspberry Pi or other computer. After your Pico is connected, press and hold the BOOTSEL button for a few seconds.
- It will be recognised as an RPI-RP2 Mass Storage Device.
- Drag and drop the MicroPython UF2 file onto the volume of the RPI-RP2. Your Pico will be restarted. MicroPython is now running.
Step2: Download And Install Thonny Python IDE
- Download Thonny Python IDE for PC from the link below (make sure you select the correct OS version for your PC):
- Run the installation software that you downloaded.
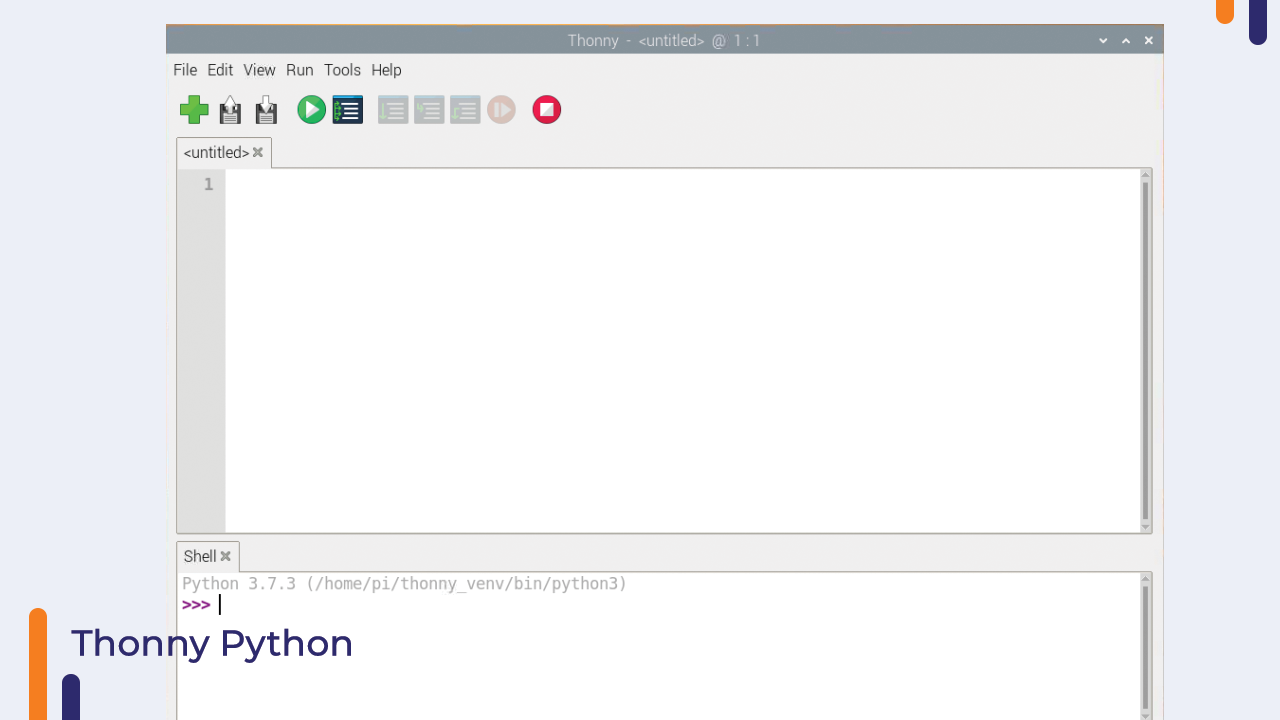
- Now launch the Thonny Python IDE and select MicroPython for Raspberry Pi Pico as the Interpreter:
- Now select the com port and then, to save the configuration, click OK.
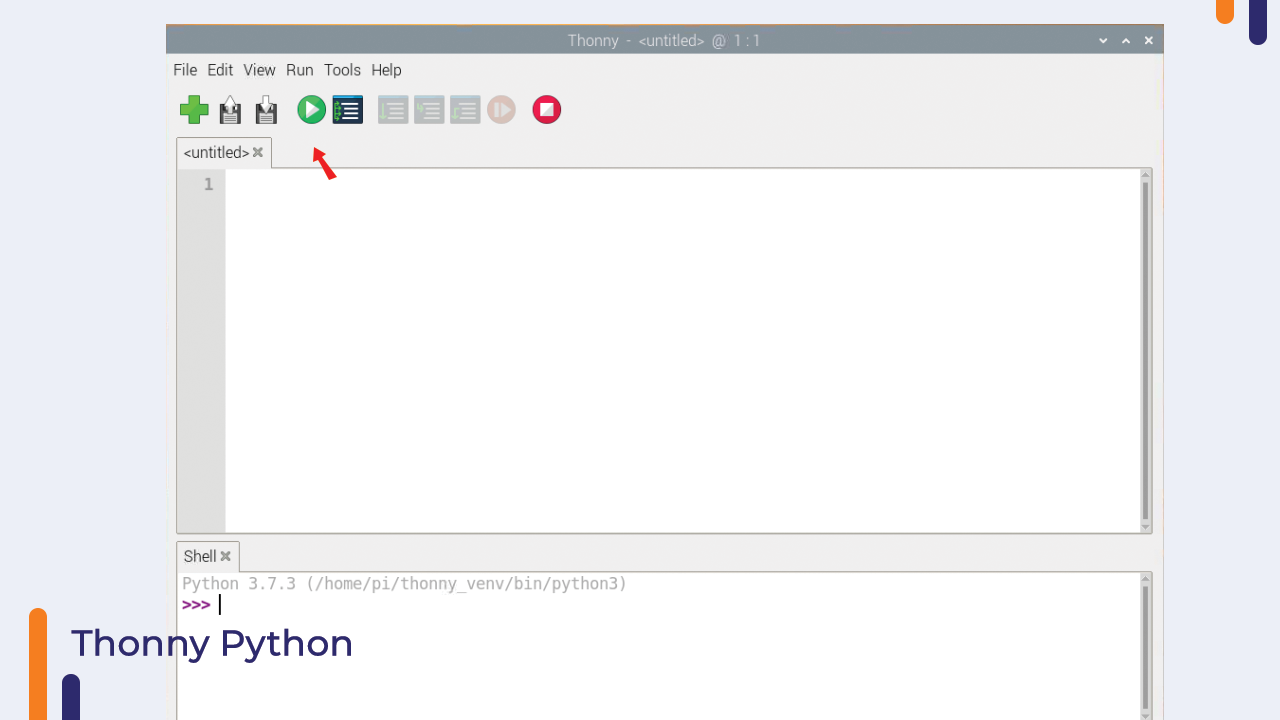
Step3: Copy The Following Code And Paste it To The Coding Window:
from machine import Pin
from time import sleep
led = Pin(25,Pin.OUT)
n=0
while True:

    led.toggle()
    print("counter is {}".format(n))
    n=n+1
    sleep(1)
- Now Click the run button to run the Python code
- Now save the file file by clicking on the save as button. Then select Raspberry Pi Pico as destination.
- Save the file as main.py and then press OK.
- The main.py function is now executed automatically when the Pico board is connected to USB power.
- Keep in mind that only main.py can be executed automatically. Your Python code will not be executed automatically if you save it under a different name.
- As the code runs on the raspberry pi pico board, the LED on the Pico board will constantly flash.
Congratulations! You’ve created your first Python programme, which is now running in Pico.

Conclusion
In this way, We learned how to run our first python code on the raspberry pi pico board. If you have any questions about this section, please leave them in the comments section. We will gladly assist you. We will discuss the orange Raspberry Pi Pico Kit in our next. In that blog, We’ll learn how to use the Raspberry Pi Pico with external leds, switches, and sensors.
[ad_2]


